You can download the Spool Rotator here:
https://www.printables.com/model/523118-spool-rotator
But, what do you really need? There are over 100 different parts, but most are optional or you won’t need them. The optional parts give you more control over the rotation speed, and accommodate spools with different sized hub holes.
At a minimum you need:
- SpoolPullyFlange or SpoolPullyFlange-Small
- TopNutHolder
- SpoolFlange
- PullyGear
- CMPG (Circular Magnetic Pinion Gear)
- SpoolHangerBlock
- HangerArm x2 (you need two hanger arms)
To use pulleys you’ll need the base version of the upper and lower pulley parts:
- PullyGearBase (top pulley)
- SpoolPullyFlange-Base (bottom pulley)
If you print things that use a lot of filament (e.g. large and/or a lot of infill) you might find the colors rotate too quickly, in which case you should print one of the hanger arms with designed for the mid pulley, and print the mid pulley reducer. The pair will significantly slow down rotation.
You might also find that an adjustable filament guide is useful too.
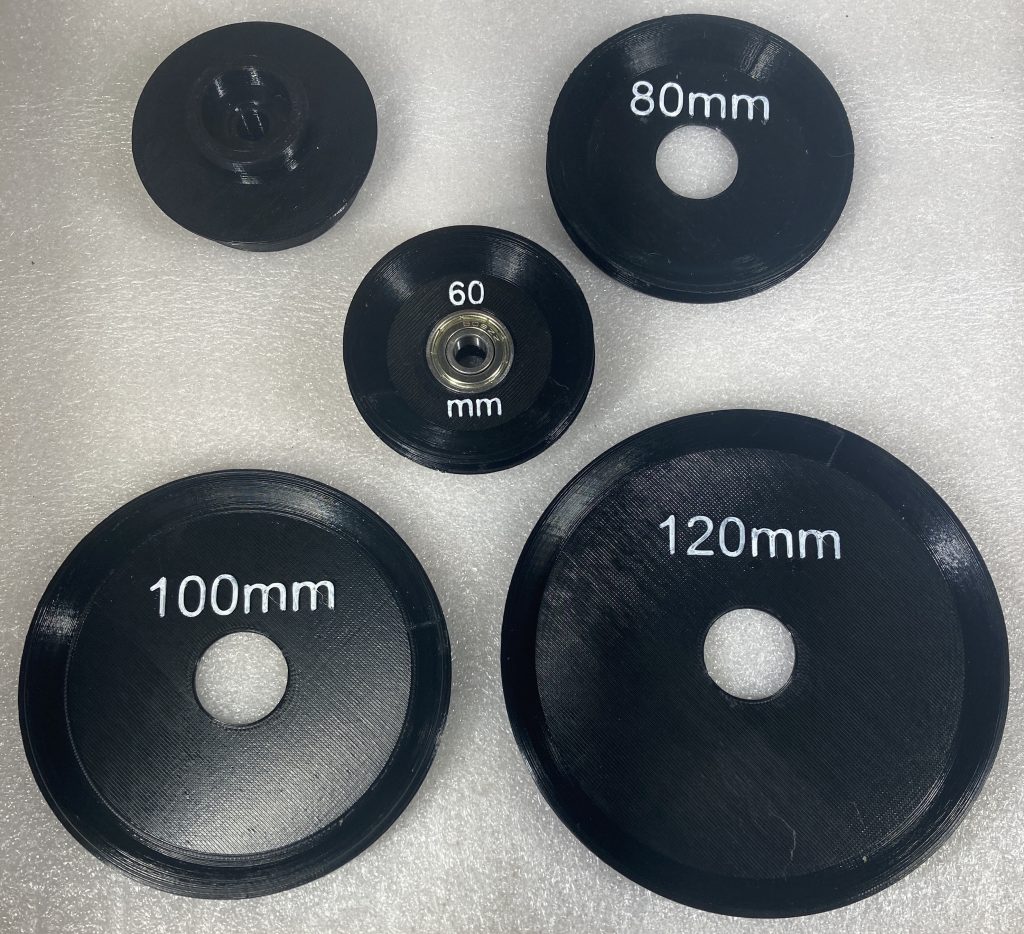
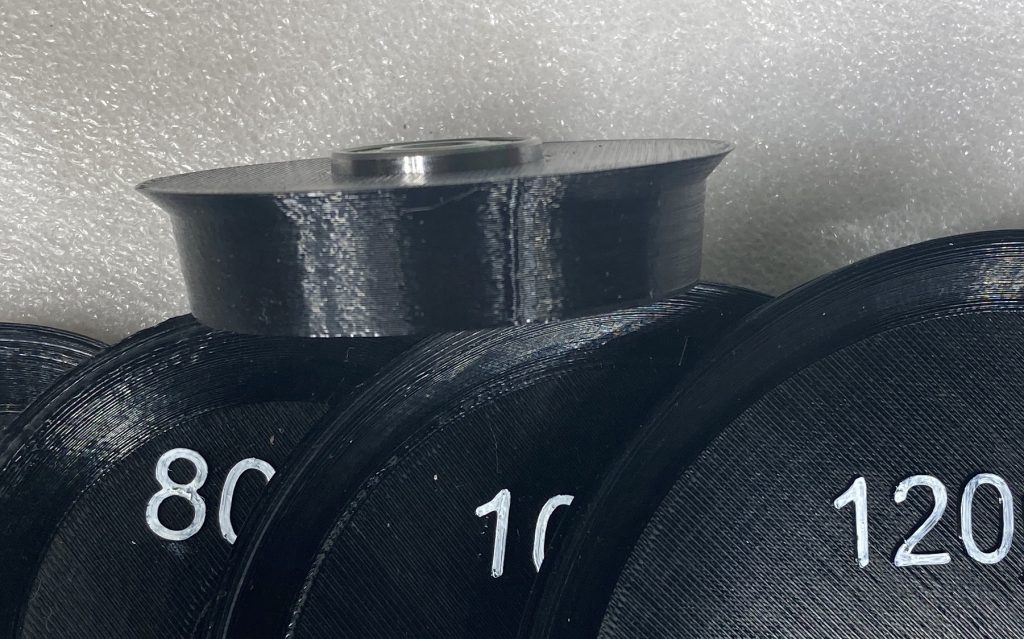
Pulleys
You can print any of the pulleys you think will be useful. The smallest ones are interchangeable between the top and bottom. The largest one that fits on top is the 50mm pulley. The 60mm and larger pulleys only fit on the bottom. They just push on and pull off using the bearing as a connector.
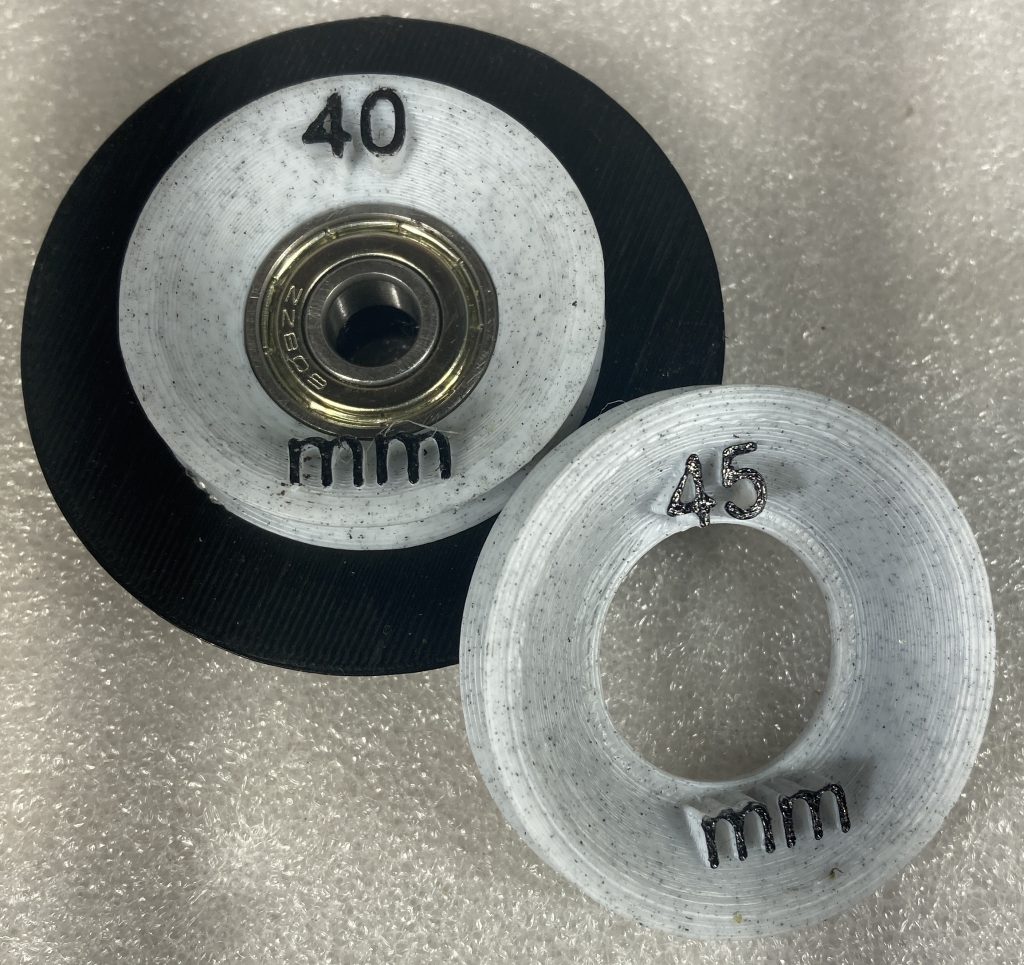
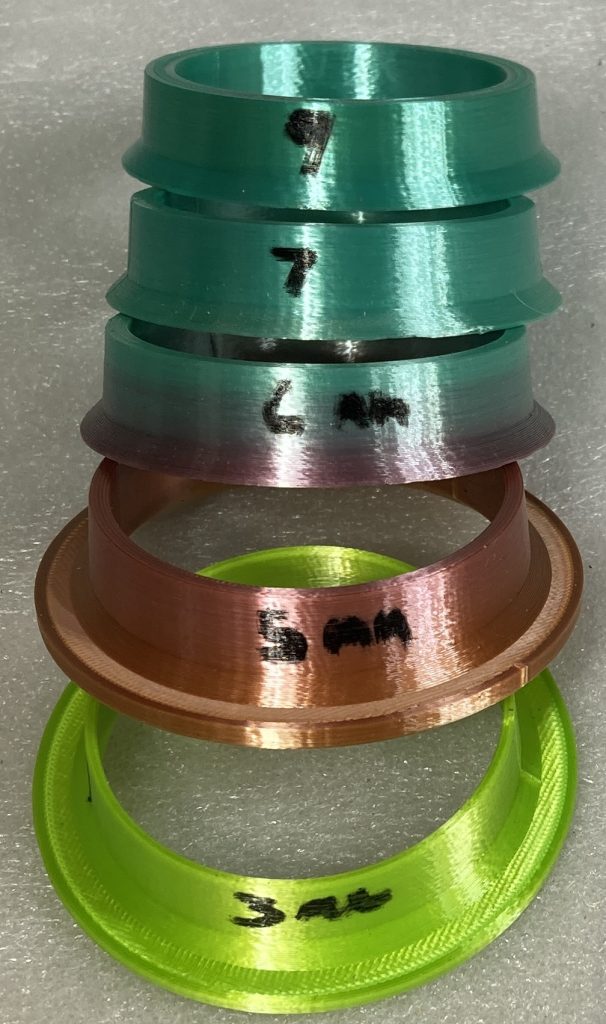
Spool Flange Sleeves
There is no standard for the size of the hole in the hub of a spool. I originally designed the spool rotator for a 55mm hub hole, but many of the tricolor filaments have larger spool hub holes.
So, I developed a set of sleeves that fit over the original 55mm spool pulley flange and spool flange. These fit snugly and effectively increase the diameter by 2 or more mm in 1mm increments up to an additional 15mm in diameter. That extends the range from 55 up to 70mm. You use them in pairs.
The various Spool Sleeves are rated for how many mm they add above 55mm. So, if you measure a gap of 2mm at all points around the 55mm spool flange, you could add the 3mm spool sleeve and it should fit just snugly.
You don’t need to print them all! But, you could either print the ones you need in pairs that are the same size, or you could choose adjacent sizes to cover more possibilities. Only the pulley side of the spool needs to fit snugly, the other side could be loose and slip.
Plastic spools sometimes slip on the plastic flanges or sleeves. You can increase friction a few ways:
- Put some rubber cement on the sleeve and let it dry.
- Put a thin layer of electrical tape around the outside of the sleeves or the pulley flange bases. It doesn’t need to go all the way around to work.
- Cut off the sticky part of a sticky note and attach it to the outside of a sleeve or flange base. It doesn’t need to go all the way around to work.
Size Range for Spool Sleeves
The nominal sizes each actually cover a range of spool hub sizes of about 1.5mm to 2mm. So, more than one of the sleeves might work for your spool, although one might not be fully seated (but would still work). You use them in pairs.
| Spool Sleeve Size | Minimum Spool Diameter | Maximum Spool Diameter |
| no sleeve | 53 | 55 |
| 2mm | 55 | 57 |
| 3mm | 56 | 58 |
| 4mm | 57 | 59 |
| 5mm | 58 | 60 |
| 6mm | 59 | 61 |
| 7mm | 60 | 62 |
| 8mm | 61 | 63 |
| 9mm | 62 | 64 |
| 10mm | 63 | 65 |
| 11mm | 64 | 66 |
| 12mm | 65 | 67 |
| 13mm | 66 | 68 |
| 14mm | 67 | 69 |
| 15mm | 68 | 70 |
Mid Pulley for Slowest Color Changes
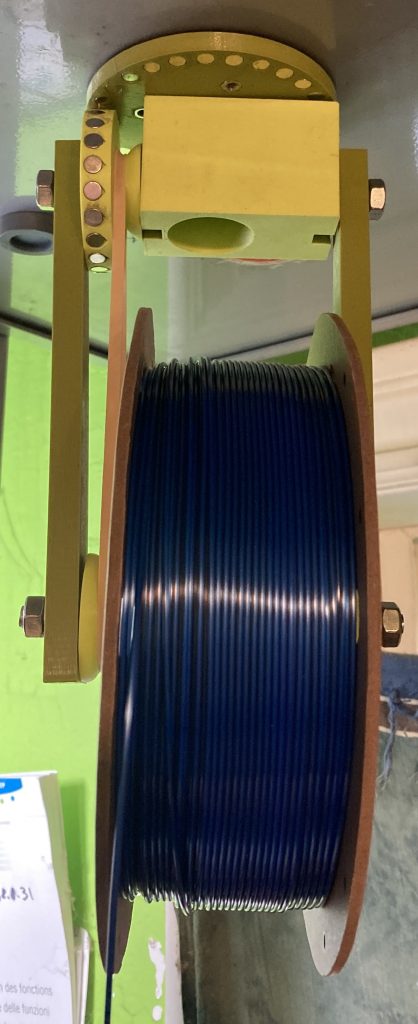
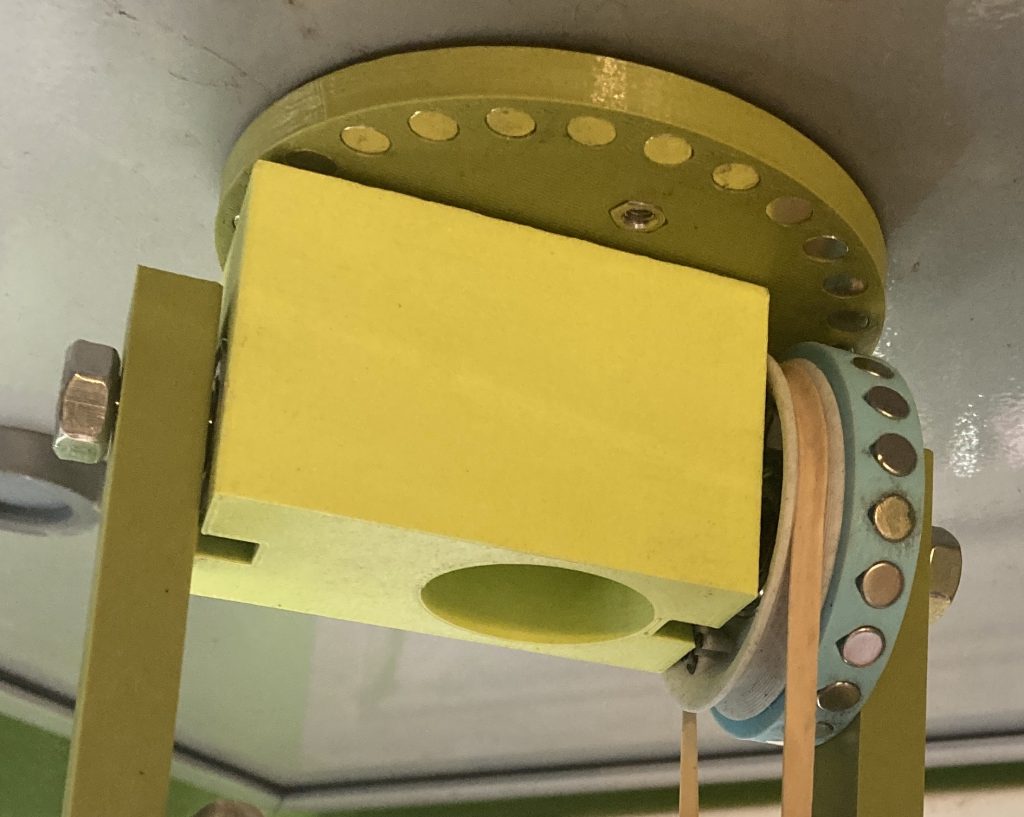
For the very slowest color changes you can use the hanger arm with a midpoint axle hole, called the “Hanger Arm For Mid Pulley“. You can print the two-sided “Mid Pulley Reducer” and use two smaller rubber bands. It looks like this when assembled:
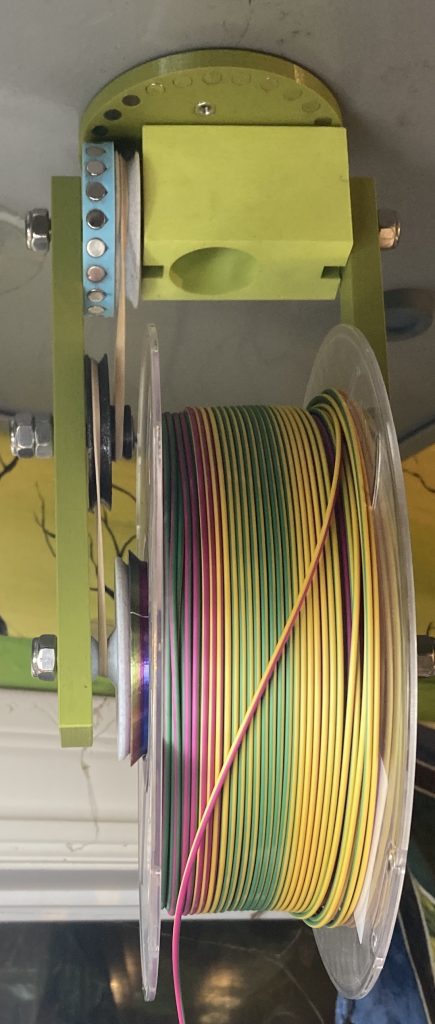
The roll shown isn’t going to work very well with this arrangement, because when it was manufactured it went onto the roll already rotated. The manufacturer twisted the filament as it was wound onto the spool. I think the idea was to give a rainbow effect to prints. When this roll was manufactured the spool rotator didn’t exist. But, some manufacturers are careful not to twist their filament as it goes onto the spool. I haven’t done a broad survey of coextruded filaments, but in my limited experience Eryone does a great job of keeping the filament oriented consistently, while Hello3D and Amolen twists their filament like you see above.
You can still use the spool rotator with filament that is twisted on the spool like the photo above. The effect will either be to speed up the color change or slow it down. You can change how the spool is hung to reverse the direction of rotation to either oppose or augment the natural twist already on the roll.
The bottom line is that if you want a highly ordered rotation through the colors you will need the filament that is consistently oriented and not twisted as in the photo above. But, if you are looking for beautiful chaos, any spool of coextruded filament will work well.
The Eryone spool below is not twisted. The blue edge is visible on every single loop.

Filament Guide
The adjustable filament guide is described on the Assembly page. You can download it here:
https://www.printables.com/model/535748-mk3-adjustable-tube-filament-guide
Position the filament guide about 2″ below the very center of the spool.